Leather seats may give any car a premium feel, but with everyday usage, over time, they can suffer from scratches, fading, cracks and minor rips. A premium leather car seat repair kit may fix small damage and greatly upgrade your car’s interior rather than spending hundreds of dollars on replacing fabric. If you have a faded seat bolster or a little cigarette burn, the correct repair kit can be a cost-effective solution to many common problems.
I’ve seen for myself how a decent repair kit can turn leather seats that appear like they are ready for replacement. One thing I’ve learned is patience makes a big difference. Usually far better results are obtained by careful surface preparation, taking time with color matching and precise procedure for each phase, rather than striving to have the repair finished fast. While no DIY repair is entirely undetectable, the improvement may be quite striking when done right.
READ MORE: Car Scratch Repair: How to Remove Scratches from Car & Repair Costs Explained
What Is a Leather Car Seat Repair Kit?
A leather car seat repair kit is a set of items used to fix minor cosmetic defects on vehicle leather upholstery. Good quality kits include all the necessary things to repair your automobile leather seats yourself, so you can mend scratches, cracks, fading and tiny tears without having to replace the whole seat.
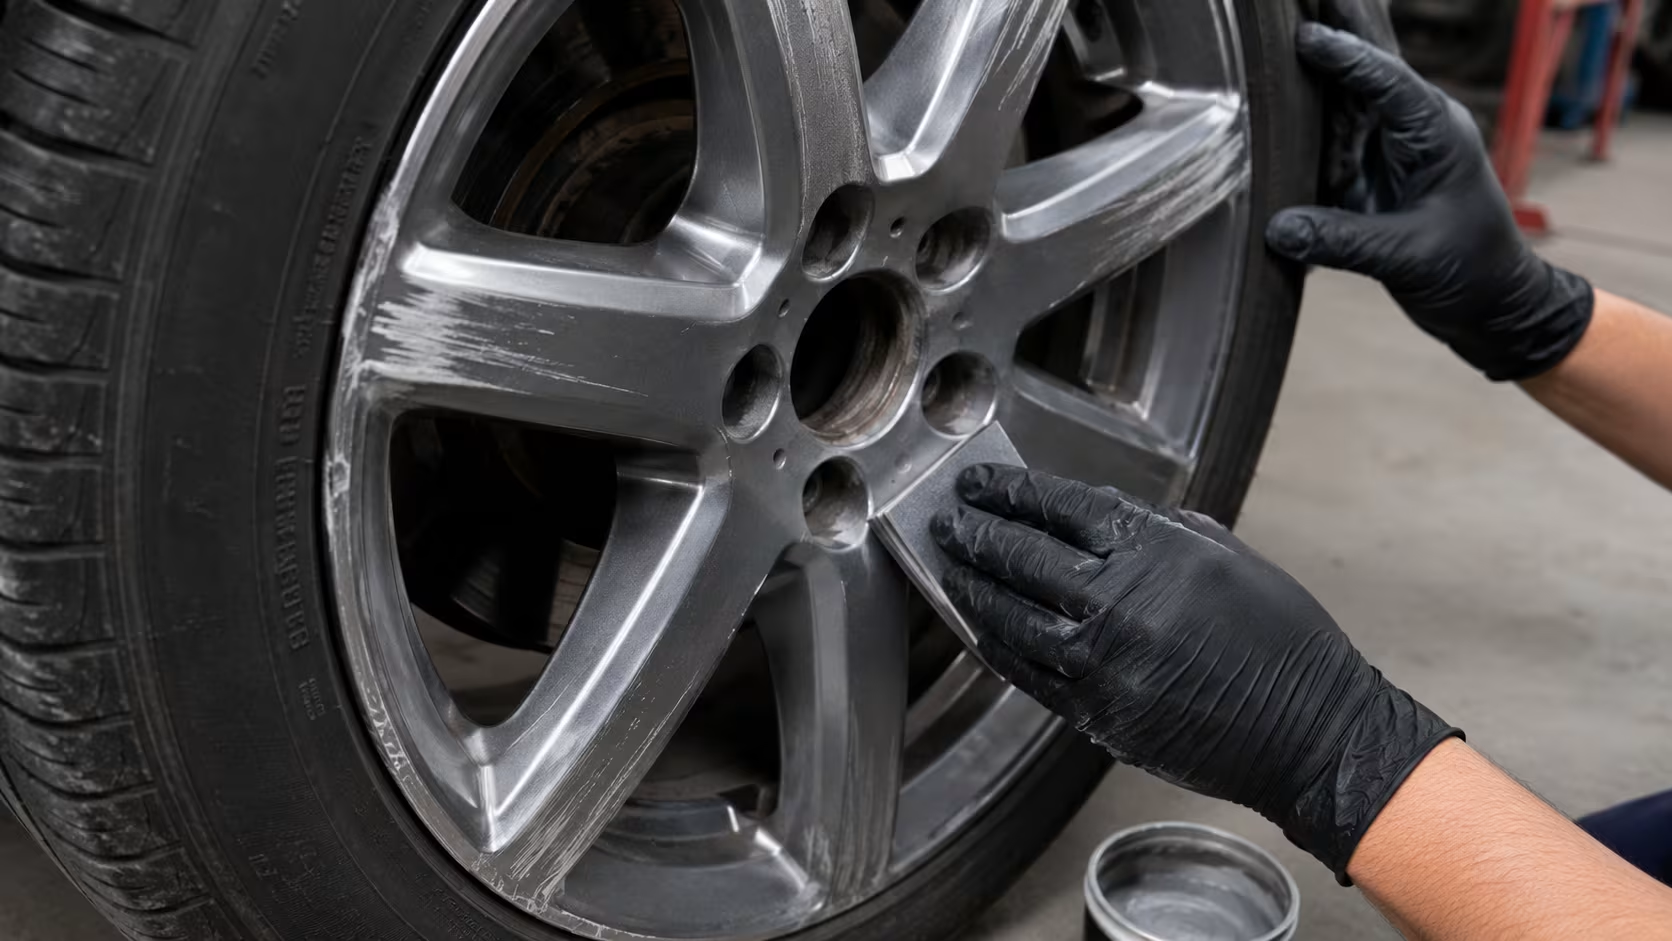
Each part plays its part. The filler repairs the damaged regions, glues ripped leather together using adhesives and leather dye restores the color after the repair. Grain paper helps to restore the original grain of the leather, so repairs fit more naturally into the surrounding automobile upholstery.
A typical leather repair kit for car seats may include:
- Leather repair compound or filler compound to fill up fractures and minor holes.
- Leather Repair Adhesive To Bond Torn Leather.
- Leather dye or leather color restoration kit to restore the original color.
- Grain paper for the grain of genuine leather.
- Applicators and mixing instruments for precise application.
- Sandpaper for smoothing repaired surfaces.
- Protective finish or sealant to improve durability.
- Instructions for different repair methods, including heat curing where applicable.
Common Types of Leather Seat Damage a Repair Kit Can Fix
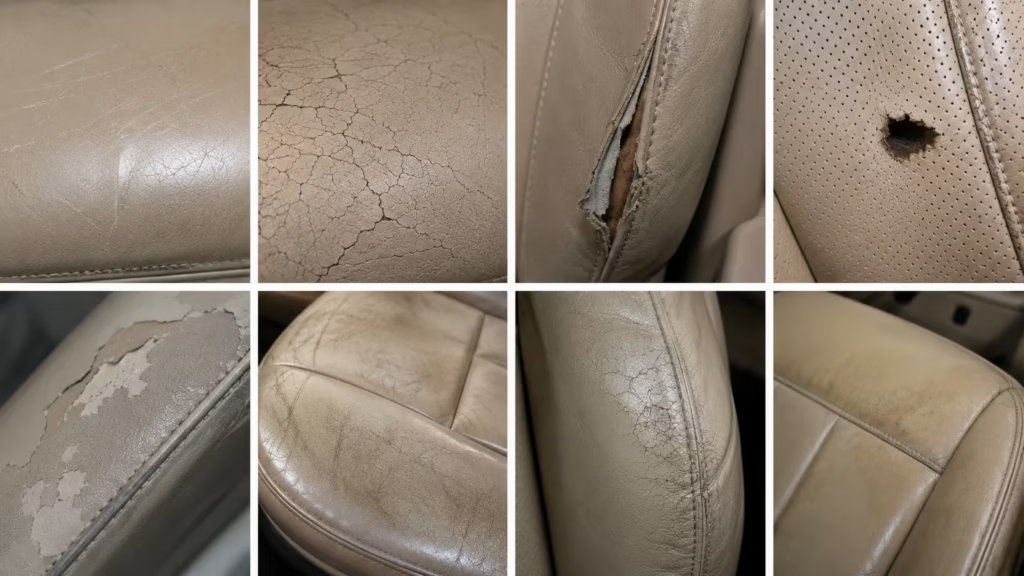
Quality leather repair kits for vehicle seats are suitable for cosmetic or minor damage, but not for major structural issues.
Surface Scratches
Leather typically gets small scratches from keys, belts, dogs, or just normal use. Most leather repair creams and color restoration treatments may make them look far less noticeable.
Light Cracks
Cracked leather is leather that is aging. Constant flexing and UV exposure cause leather to age. A leather filler for vehicle seats fills in these little fractures when the color is restored with matching dye.
Minor Tears
Small rips or tears in leather, less than a couple of centimeters long, may typically be fixed with a leather tear repair kit and a flexible glue. Good alignment prior to bonding yields cleaner results.
Small Holes and Cigarette Burns
Leather hole repair kits – these kits may repair small holes, such as cigarette burns, by filling the hole and restoring the grain texture using filler and grain paper.
Fading and Worn Seat Bolsters
Repeated ingress and egress sometimes causes deterioration to the seat bolster in driver seats. Leather seat repair kit renews fading color and hides damaged surface.
Peeling Finish
Over time, certain contemporary coated leather seats will lose their protective surface. A good automobile leather repair kit can restore these places and improve the overall look.
Damage Better Left to Professionals
Automotive leather repair kits are good for cosmetic problems, but they aren’t the answer to every problem. Major rips, missing pieces of leather, torn seat cushion, broken stitching or serious structural damage will likely need expert repair or a full re-upholstery. Trying these fixes at home generally leads to poor results and increased repair bills later on.
A basic rule is simple: if the damage is just to the leather surface, a leather repair kit for car seats is typically worth a try. But if the seat has serious structural damage behind the leather, expert upholstery repair is typically the better investment.
How to Repair Leather Car Seats Using a Leather Car Seat Repair Kit
It’s not difficult to fix a leather vehicle seat with a kit, but it does take time to get the best results. In my experience, hurrying any stage, particularly drying or matching the color, frequently results in a more obvious repair.
Step-by-Step Guide
- Clean the damaged area thoroughly.
Clean dirt, oils and old leather conditioner with the cleaner indicated in the package. The repair compound requires a clean surface for good bonding. - Remove loose fibers.
Trim away any frayed or peeling leather surrounding the injury, but don’t make the tear bigger. - Apply leather filler or adhesive.
Use the provided leather repair compound or glue, depending on the damage. If the fracture is deep, numerous thin coats are better than one thick coat to avoid eventual shrinking and cracking. - Allow proper drying time.
Follow manufacturers’ directions carefully. Some kits dry in air, others cure with heat for faster, stronger repairs. - Sand lightly if needed.
When dry, softly sand the repaired area with the provided fine grit sandpaper to make an equal surface. - Apply the color compound.
Restore the original seat color with the supplied leather dye or leather color restoration kit. Blend the edges well for a more natural look. - Match the surrounding leather.
Color matching should be done slowly. Generally, several light coatings will create a more realistic look than one heavy coat. - Seal the repair.
Apply the protective finish for increased durability and protection from future wear and UV damage. - Condition the leather.
When the patch is fully healed, apply a good leather conditioner to keep the surrounding leather supple and limit the chances of future cracking.
DIY Leather Repair Kit vs Professional Leather Seat Repair
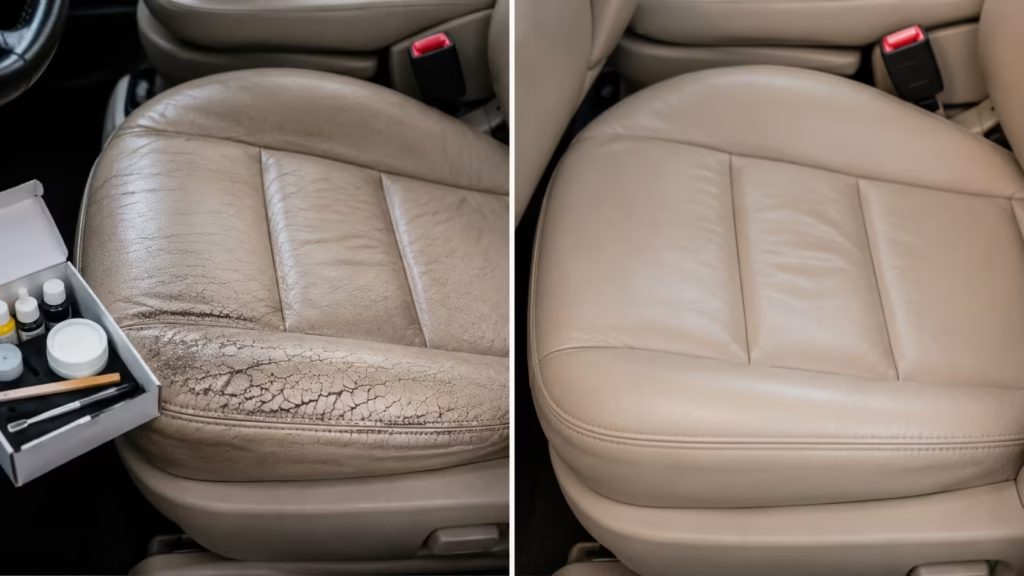
| Feature | DIY Leather Repair Kit | Professional Repair |
| Cost | Low | High |
| Difficulty | Beginner to Intermediate | No DIY effort |
| Repair Quality | Good for minor damage | Excellent for all damage types |
| Durability | Good when done correctly | Usually longer-lasting |
| Time Required | 1–3 hours | Half a day to several days |
| Best For | Scratches, light cracks, minor holes | Large tears, missing leather, damaged foam |
| Limitations | Cannot repair severe structural damage | Higher repair cost |
From my own experience, DIY kits may provide surprisingly fantastic results on scratches, fading spots and little cracks. But, I have also learned that big tears and ruined seat cushion are better left to the pros at upholstery businesses. It’s crucial to have reasonable expectations – a DIY repair can make a huge difference to the look, but it’s not always going to look factory-new.
How to Choose the Best Leather Car Seat Repair Kit
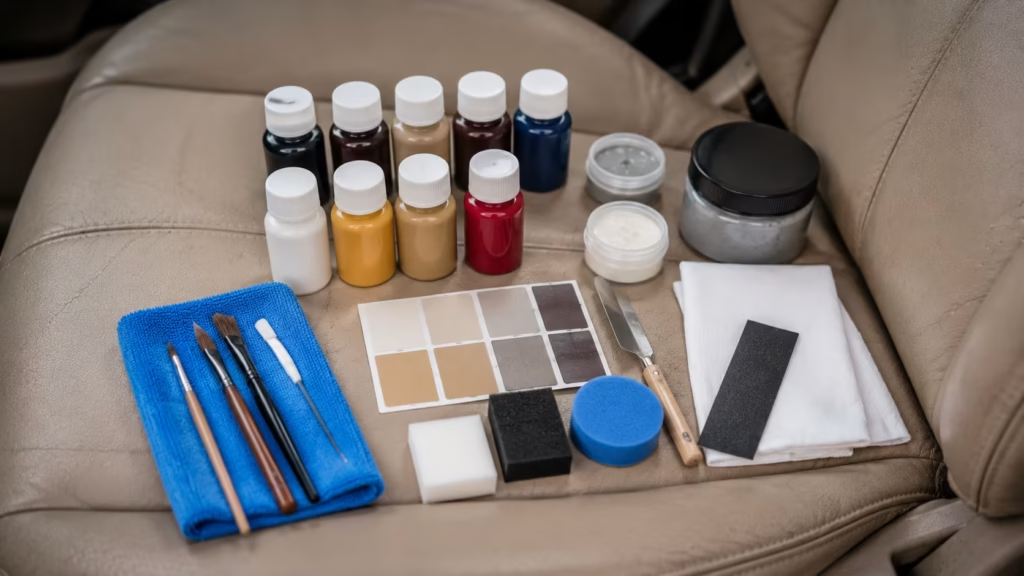
Not all of the best leather car seat repair kits are made equal. The sort of damage you are fixing will depend on your choice.
Look for these features:
- Compatible with real leather and vinyl, if your car has both materials.
- Multiple color selections for easy color matching.
- Quality leather filler for automobile seats. Stays flexible after drying.
- The leather grain is restored with grain paper.
- Powerful glue for healing tiny cuts in leather.
- Simple instructions for beginners.
- Quick drying, although it can be managed.
- Positive customer evaluations with actual before and after images.
- Full accessories including as applicators, mixing containers and sandpaper.
Don’t just buy a repair kit because it is cheap. Products that are really inexpensive will usually have inferior quality repair agents and dyes that can fracture, fade, or peel after only a few months.
Common Mistakes to Avoid When Repairing Leather Seats
Even a premium leather car seat repair kit won’t deliver good results if it’s used incorrectly.
Common mistakes include:
- Skipping proper surface cleaning before starting.
- Applying thick filler layers instead of several thin coats.
- Rushing drying or curing time.
- Poor color matching that makes the repair obvious.
- Ignoring the manufacturer’s instructions.
- Repairing dirty or oily leather.
- Forgetting to apply a protective finish.
- Not using a leather conditioner after the repair has fully cured.
Are Leather Car Seat Repair Kits Worth Buying?
A good leather vehicle seat repair kit is a great investment for fixing light scratches, small cracks, minor holes, fading patches and ordinary wear. It’s a budget-friendly option to changing out pricey automobile upholstery and if done correctly, can bring a major change to your vehicle’s interior. However, leather repair kit for car seats goods come with restrictions and should not be expected to mend serious tears, missing leather panels or damaged seat foam.
To me, the best approach to avoid costly repairs in the future is to fix the damage to the leather as soon as it happens. I’ve discovered that regular leather care, the occasional conditioning and snapping minor cracks in the bud helps mended seats stay in good shape for much longer. If you get a good quality leather repair kit for vehicle seats, follow the directions properly and have reasonable expectations, you will frequently get results that make your seats seem cleaner, fresher and far more presentable without the expense of a full upholstery replacement.